How to Setup a New Laptop with Windows 11: In-Depth Guide
Image by Mini Byte
Table of Contents
ToggleIntroduction: How to Setup a New Laptop with Windows 11
Setting up a new Windows 11 laptop with numerous customization options can be exciting. However, establishing a secure and efficient environment requires careful consideration. By adhering to these fundamental principles, you can optimize your Windows 11 experience, whether for work, school, or personal use, regardless of the complexity involved.
Why Does Proper Setup Matter?
Setting up a new laptop correctly can significantly enhance your experience from day one. While it may seem tempting to skip some initial steps, taking the time to properly configure your device offers crucial benefits. This guide will cover essential aspects like updates, security measures, personalization options, and performance optimizations. By following these steps, you can minimize security risks, maximize resource utilization, and ensure smooth and reliable operation of your laptop.
1. Initial Setup and Configuration
Unboxing and Starting Up
Prioritize unpacking and familiarization with your new laptop. Locate and review any included manuals, accessories, or setup guides. Before powering on, fully charge the battery to prevent unexpected shutdowns during the initial setup. This initial charge cycle also helps optimize battery life and performance.
Connecting to Wi-Fi
Setting Up a Microsoft Account
Windows 11 facilitates seamless integration with Microsoft accounts. This integration enables users to synchronize settings, applications, and files across various devices. During the initial setup, the system prompts users to either sign in with an existing Microsoft account or create a new one. Utilizing a Microsoft account provides several benefits, including access to cloud storage services like OneDrive, the Microsoft Office suite, and personalized settings that can be seamlessly applied across other Windows devices.
Naming Your Device
For optimal device management and user experience, it is recommended to assign a descriptive name to your laptop. This can be accomplished by navigating to System Settings and selecting “About.” Within this section, the option to “Rename this PC” will be presented. Assigning distinct names to each device, particularly in multi-device environments, enhances clarity and facilitates efficient device identification. For instance, a laptop primarily used for professional purposes could be aptly named a “Work Laptop,” while a gaming-centric device might be designated as a “Gaming Laptop.” This practice promotes improved organization and streamlined device management.
2. Installing Windows Updates
Why Updates Are Important
Regular system updates play a crucial role in maintaining optimal system performance and stability. These updates often incorporate bug fixes, addressing software glitches that can cause unexpected errors or system crashes. Furthermore, updates frequently include performance enhancements, and optimizing system processes for greater efficiency and speed. By implementing these updates, users can expect a smoother and more reliable system experience overall.
Checking and Installing Updates
To initiate the Windows 11 upgrade process, navigate to “Settings,” then select “Windows Update,” and finally click “Check for updates.” The system will automatically search for any available upgrades. Once detected, you can proceed with the installation immediately. The duration of the upgrade process may vary depending on the volume of updates and the speed of your internet connection, typically requiring a few minutes to complete.
Scheduling Updates
Within the Windows Update settings, users can access advanced options to customize the scheduling of updates. This feature allows for the selection of preferred update times, minimizing disruptions to work or study routines. By configuring updates to occur during off-peak hours, such as late at night, users can effectively mitigate intrusive notifications and maintain uninterrupted productivity throughout the day.
3. Configuring Essential Security Settings
Setting Up Windows Hello
Windows Hello enhances the level of security since with your face, fingerprint, or PIN, your laptop can be unlocked. If your laptop supports the needed hardware to run it, go to Settings >> Accounts >> Sign-in options and select either Windows Hello Face or Windows Hello Fingerprint. However, if the provided options are not possible, you can set your security code or PIN.
Enabling and Configuring Windows Defender
Windows Defender is a very effective out-of-the-box antivirus solution against viruses, malware, and other threats. To check whether it’s enabled, open Windows Settings >> Privacy & security >> Windows Security >> Virus & Threat Protection. More options such as the ability to facilitate scheduled scans, real-time protection and ransomware protection among others, are enhanced features that you also get at your disposal.
Review Privacy Settings
It is essential to note that Windows 11 has many privacy options to let a user decide precisely what information is collected from a device and transmitted to Microsoft or any other third application. You can find this under Settings >> Privacy & Security tab then manage location, camera, microphone, and anything else under the Privacy section. For instance, if you don’t wish for apps to track your location then you can disable Location under Privacy & security >> Location. Likewise, limit the access that your apps hold to your camera and microphone to only those that deserve it.
4. Customizing System Settings
Adjusting Display Settings
Using the display settings, you can control how your screen looks and the feel of your screen if you use your computer for gaming or heavy computing. Settings >> System >> Display allows you to control the screen display, brightness, resolution and scaling. You can turn on the Night Light which will help reduce the blue light – much more comfortable for the eyes during nighttime. You can make your laptop more comfortable to use by varying these settings to suit your environment.
Configuring Sound Settings
The option to configure audio in Windows 11 can be done through a menu that can be accessed from the taskbar. In Settings >> System >> Sound, you can choose between the output and input devices like speakers, headphones and microphones, and their volume. It also has sound options on its new release that allow you a personalized feel for spatial sounds if enabled, which could be advantageous for games and movies, among others.
Set Up Notifications and Focus Assist
There is something that I like to call Focus Assist which lets you decide which notifications you would love to receive and when. Head to Settings >> System >> Focus Assist, and opt for priority notifications, only alarms, or disabling all but work-based notifications. You can set up basic green automation, for example, turning on Focus Assist when your screen is duplicated or you are gaming.
5. Installing Essential Software and Apps
Using the Microsoft Store
The compatible applications can be obtained from the Microsoft Store, which is safe to use. They consist of productivity apps, media players and antivirus programs. Go to the Microsoft Store through the taskbar and then search for the app you’d like to download.
Install Browsers, Office Suite, and Productivity Apps
Although Microsoft Edge comes bundled with the new Windows 10, you might want to use Google Chrome or Mozilla Firefox browsers. These are available on the Microsoft Store or can be downloaded from the web pages of their developers. Think about installing an Office suite (Microsoft Office, Google Workspace, or LibreOffice) if you’re planning to use it for work or school.
Setting Up Cloud Storage Options
Cloud storage enables you to access a file using any hardware and it can be used as additional storage in the case of loss. OneDrive is used in Windows 11s and delivers 5GB free with other plans ranging from paid storage. The next step involves going to Settings >> Accounts >> Backup and enabling OneDrive for easy file backup. You may also download Dropbox if you want another sumptuous cloud storage system or Google Drive if you prefer that.
6. Configuring Backup and Recovery Options
Setting Up OneDrive Backup
OneDrive is included in Windows 11, though it will have to be downloaded separately to ensure the safe storage of documents. To activate OneDrive, click it and log in with your Microsoft email and password; decide which folders you want to sync, including Documents, Pictures and Desktop. The settings can be changed under Settings >> Accounts >> Backup.
Creating a System Restore Point
Creating a system restoration is very important when performing system restoration when some problems occur. To set it up, type in “Create a restore point” in the Start menu, right-click your main drive, and click the “Configure” command. This makes it possible for you to undo a previous state if there are issues with your system.
Setting Up File History for Data Backup
File history automatically saves files on an external drive to prevent loss of data. Insert an external hard drive, navigate to this Setting >> PC >> System Protection >> Backup >> Add and configure File History. This feature will allow users to save copies of the files created and also allow users to pull earlier deploy versions.
7. Optimizing Performance and Battery Life
Configuring Power and Sleep Settings
As seen above, battery duration is relative to the configuration settings selected in the device. If you want to save batteries, follow the instructions: power by going to Settings >> System >> Power & battery and choose the power mode that is desirable for you: Best power efficiency, Balanced or Best performance. Energy can also be saved by configuring sleep settings to conserve power when the number pad is not in use and to tab display when the laptop is not in use.
Disabling Unnecessary Startup Programs
Having excessive numbers of startup programs is not good for the operating system since it will decrease the performance rates of the system. Open Task Manager by using the shortcut keys Ctrl+Shift+Esc, click the Startup tab and then click on disable on the programs that you don’t want to start automatically.
Setting Up Storage Sense
A tool called Storage Sense can clear disk space on its own by removing unnecessary files. Settings >> System >> Storage and enable Storage on Storage Sense to delete files, clear the recycle bin and manage one drive. This task can be set to run on a daily, weekly or monthly basis, most preferred for periodic computer maintenance.
8. Familiarize Yourself with Windows 11 Features
Exploring the New Start Menu and Taskbar
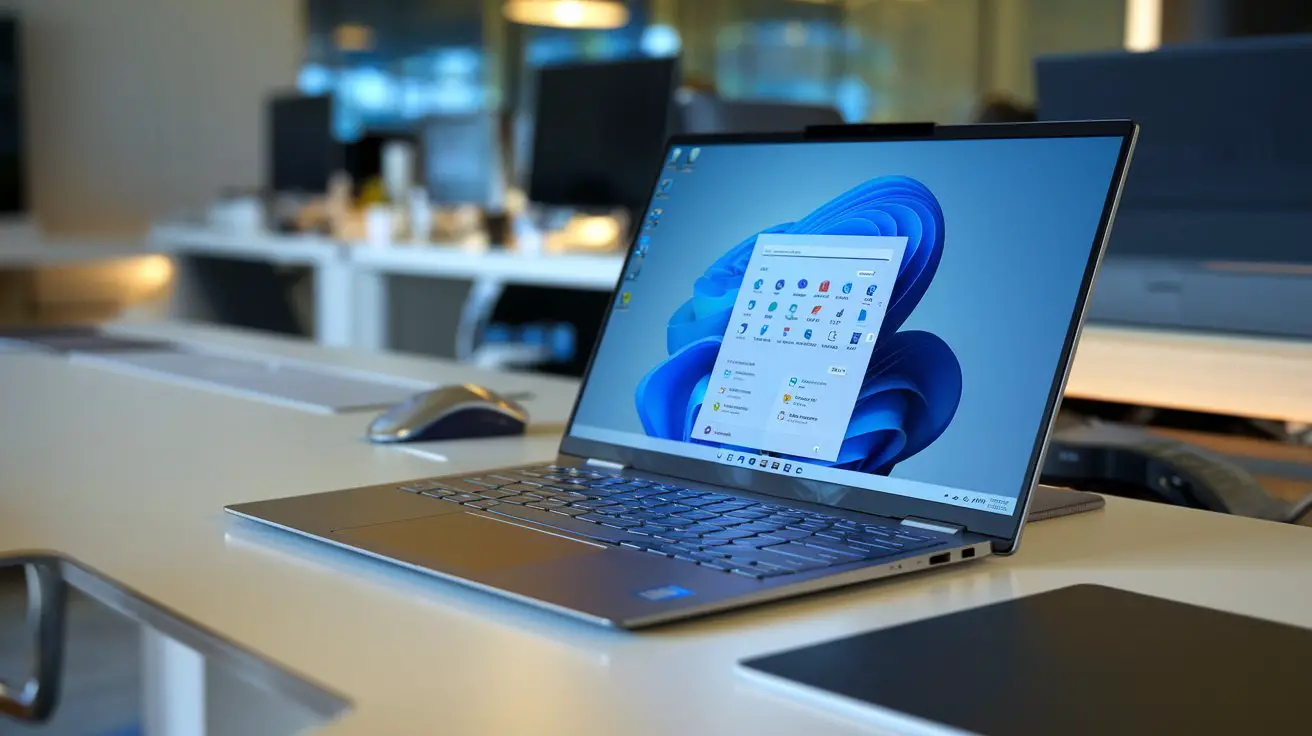
The start menu and taskbar experiences have been revamped in Windows 11 having the center alignment and a sleek appearance. That’s possible–you can pin much-loved frames and set alignments of the taskbar in Settings >> Personalization >> Taskbar.
Using Virtual Desktops and Snap Layouts
Snap Layouts are designed to provide a means of optimizing workstation organization for multi-window work, while Virtual Desktops create multiple instances of a computer screen. Snap Layouts can be activated by hovering over the maximize button on a window and choosing a layout. There’s an option to work with multiple Virtual Desks where you press Windows Key + Tab to shift between them, for work, games and more.
Navigating Widgets and the New Microsoft Store
Some widgets allow you to have a glimpse of the weather, news or your calendar at a glance. To customize your feed, click on the widgets icon at the bottom of the screen. Microsoft has updated the Microsoft Store to give users more choices in apps and a better shopping interface.
To read about Which Laptop Is The Best For Gaming Under 60000, click here.
Conclusion
This guide must be the foundation for your new Windows to get the most out of the new laptop experience. The final assignments mentioned above will help you ensure the safety of your information, increase computational speeds, and adjust your Laptop to your preferences. Once you have configured your setup press Win More to discover how to get the most out of your PC with Windows 11 promotions.

